Mastering the Cursive F: A Step-by-Step Guide
Struggling with the loops and connections of the cursive 'F'? You're not alone! This particular cursive letter f often presents unique challenges for learners. What is the cursive of f, really, and how can you write it correctly? Whether it's the tall loops of the lowercase 'f' or the distinct shape of the uppercase 'F', getting it right takes clear instruction and practice. This guide provides exactly that: a detailed, step-by-step breakdown to help you master how to write f in cursive. Let's conquer this letter together and refine your cursive alphabet skills. For comprehensive resources and practice materials, feel free to explore our cursive learning tools.
Detailed steps for mastering the cursive letter F and avoiding mistakes
The letter 'F', in both its uppercase and lowercase forms, has a structure that differs significantly from many other letters. Its combination of loops and potential crossing strokes requires careful attention to f stroke order and cursive technique. This guide will break down each form clearly, address connection points, and highlight common pitfalls, ensuring you gain confidence in writing this essential script writing character.
Why the Cursive Letter F Can Be Tricky
Why is cursive f tricky? Several factors contribute: the lowercase cursive f uniquely features both an ascending and a descending loop, demanding good control over loop size and ensuring the descending loop crosses the baseline correctly. The uppercase cursive f has a distinct starting flourish and crossbar placement that can feel unfamiliar. Furthermore, understanding how to make f in cursive connect smoothly to the next letter requires specific attention to its exit stroke. But don't worry, with focused guidance, mastering the cursive f is entirely achievable.
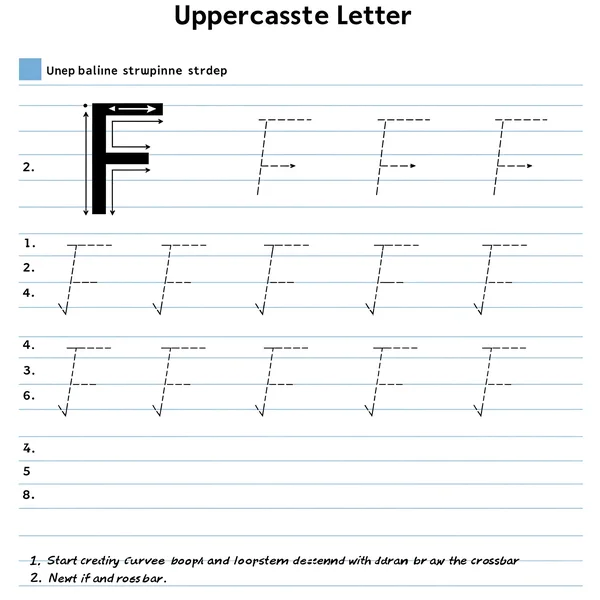
How to Write Uppercase Cursive F
Let's tackle the capital 'F'. Follow these steps carefully for proper formation:
The Starting Point: The Top Loop and Descending Stem
- Begin slightly below the top line with a small introductory loop or curve to the right.
- Sweep upwards, touching the top line.
- Descend straight down, or with a very slight curve, past the baseline. Some styles stop at the baseline, while more traditional forms extend slightly below. Check your style guide, often available in a good
cursive alphabet chart.
Forming the Crossbar: Placement and Angle
- Lift your pen.
- Position your pen on the main descending stem, usually slightly below the top line.
- Draw a horizontal or slightly downward-slanted crossbar towards the right. This bar should typically be shorter than the top part of the letter. Proper placement is key for good
penmanship.
Finishing Stroke: Preparing to Connect
The uppercase 'F' often doesn't connect directly to the next lowercase letter. Its finishing stroke is usually just the end of the crossbar. If it does connect in specific styles, it would involve an extra connecting stroke not part of the standard form.
Uppercase Cursive F: Stroke Order Summary
In essence: 1. Start loop/curve, descend stem. 2. Lift pen, draw crossbar. This simplified f stroke order is crucial.
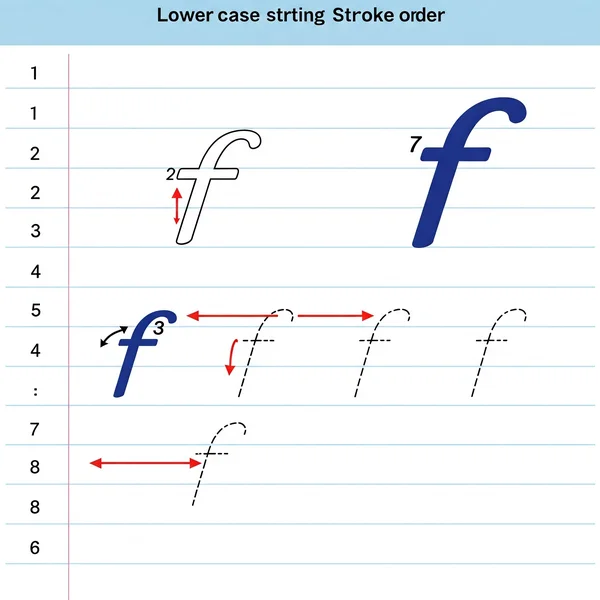
Perfecting the Lowercase Cursive F
The lowercase cursive f is known for its double loops. Here’s how to write f in cursive lowercase:
The Ascending Loop: Getting the Height Right
- Start at the baseline with an upstroke, similar to starting an 'l'.
- Loop upwards, touching the top line.
- Descend straight down, crossing your initial upstroke on the baseline.
The Descending Loop: Shape and Baseline Crossing
- Continue the descending stroke below the baseline, forming a loop to the left.
- Swing the loop back upwards, crossing the descending stem at the baseline. This baseline cross is critical. Failure here is one of the
common cursive mistakes.
The Final Connecting Stroke: The Key to Flow
- After crossing at the baseline, continue the stroke upwards and to the right, ending typically near the midline. This final stroke is the exit stroke used for
connecting fto the next letter.
Lowercase Cursive F: Stroke Order Breakdown
- Ascend and form the top loop. 2. Descend straight through the baseline. 3. Form the bottom loop below the baseline, crossing back at the baseline. 4. Finish with the connecting upstroke. Consistent
cursive writing practicehelps solidify this complex sequence.
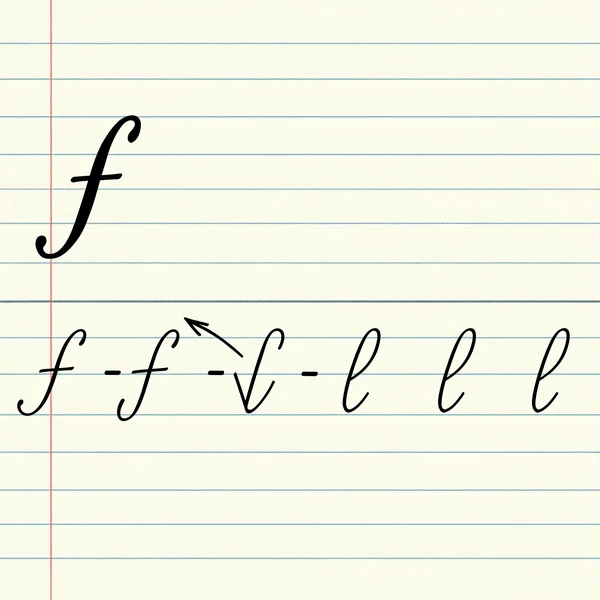
Joining With Other Letters Smoothly
Understanding the cursive f connection is vital for fluent writing.
Connecting Lowercase 'f'
The final upstroke of the lowercase 'f' naturally leads into the starting stroke of many subsequent letters like 'r', 'l', 'a', 'o', 'i', 'u', etc. Practice common combinations like 'fr', 'fl', 'ff', 'fo', 'fi' to master the transition. The key is maintaining consistent slant and spacing.
Connecting Uppercase 'F': When and How
As mentioned, the standard uppercase 'F' typically doesn't connect. You would simply start the next lowercase letter close to it, maintaining proper word spacing. Some specific calligraphic styles might add a flourish for connection, but this isn't standard cursive technique for everyday writing.
Maintaining Consistent Slant During Connection
Whether connecting from lowercase 'f' or spacing after uppercase 'F', ensure your letter slant remains consistent throughout the word. This is fundamental to legible and aesthetically pleasing cursive handwriting.
Common Mistakes When Writing Cursive F
Watch out for these frequent errors when practicing the cursive letter f:
Issue: Incorrect Loop Size or Shape
- Mistake: Loops are too narrow, too wide, or inconsistent in size.
- Fix: Practice focusing solely on loop formation. Aim for tall, relatively slender loops for the lowercase 'f', ensuring the top and bottom loops are roughly symmetrical if possible (style dependent). Reference a clear
cursive alphabet chart.
Issue: Descending Loop Not Crossing Baseline
-
Mistake: The return stroke of the bottom loop crosses below the baseline instead of on it. This is one of the most
common cursive mistakesfor 'f'. -
Fix: Consciously aim for the baseline as your crossing point. Slow down your practice and exaggerate the upward movement towards the baseline before making the final connecting stroke.
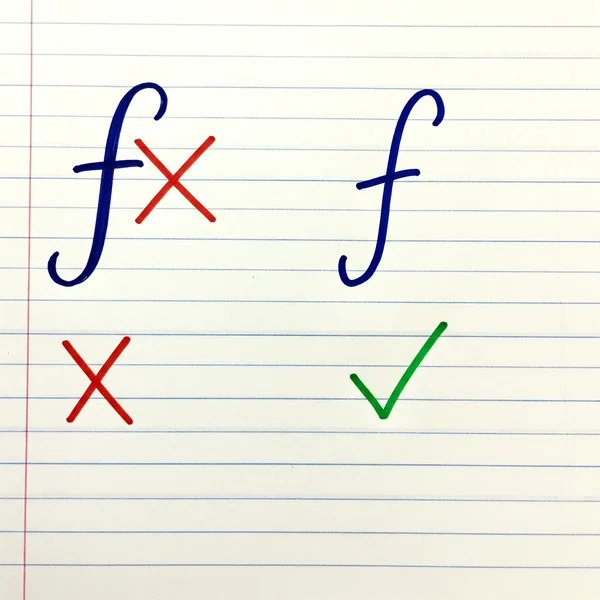
Issue: Awkward or Broken Connections
- Mistake: The transition from the 'f' to the next letter is abrupt, angled incorrectly, or has a noticeable gap.
- Fix: Focus on the exit stroke of the lowercase 'f'. Ensure it flows smoothly upwards and towards the right, ready to initiate the next letter seamlessly. Practice specific letter combinations found in
cursive writing practice sheets.
Issue: Crossbar Placement Problems
- Mistake: The crossbar is too high, too low, too long, or too short.
- Fix: Aim to place the crossbar roughly one-third of the way down from the top line. Keep it relatively short and horizontal or slightly angled down. Consistency comes with practice.
Quick Fixes and Handwriting Tips
- Use guided
cursive writing practice sheetsfor tracing. - Practice the individual strokes (loops, downstrokes) in isolation first.
- Slow down! Focus on correct form before aiming for speed. You can find more general handwriting tips on our site.
Practical tips for mastering the letter F
Consistent, focused practice is the only way to truly master the cursive f.
Focused Repetition: Drilling the Strokes
Dedicate practice sessions just to the letter 'F'. Write rows of uppercase 'F', then rows of lowercase 'f', focusing on the f stroke order and loop formation.
Using Cursive Writing Practice Sheets Effectively
Tracing examples helps build muscle memory. Find worksheets that break down the letter and provide ample space. We offer various printable cursive worksheets to support your learning.
Practice Connecting 'f' in Common Words
Once individual letter formation improves, practice writing words containing 'f' in various positions (e.g., 'if', 'of', 'from', 'different', 'fluffy', 'effort'). Pay close attention to the connecting f transitions.
Practice Your Cursive F with Confidence
Mastering the cursive f, both uppercase and lowercase, is a significant step in improving your overall cursive handwriting. By understanding the correct f stroke order, focusing on loop formation and baseline crosses, practicing connections, and correcting common mistakes, you can write this letter clearly and confidently. Remember that consistent cursive writing practice is key.
Don't stop here! Continue refining your skills. What other cursive letters do you find challenging? Let us know in the comments below! Ready for more guidance? Explore all our cursive alphabet resources to tackle the next letter.
Frequently Asked Questions about Writing the Cursive F
Here are a few common questions specifically about the cursive letter f:
Does the lowercase cursive 'f' always connect from the bottom loop?
Yes, the standard way to write the lowercase cursive f involves the final stroke emerging from the point where the bottom loop crosses the baseline, swinging upwards and rightwards to connect to the next letter.
Are there different styles or variations of the cursive 'F'?
Absolutely. While this guide covers a standard, common form, different cursive styles (like Spencerian, Palmer, or more modern variations) might have slightly different flourishes, loop sizes, or even connections for the cursive f. It's helpful to refer to a style-specific cursive alphabet chart if you're learning a particular hand.
How is the cursive 'f' different from the print 'f'?
The main differences lie in the loops and connections. Print 'f' is typically made with separate strokes (a curved top/crossbar and a vertical stem). Cursive f (lowercase) involves continuous, connected loops above and below the baseline. The uppercase forms also differ significantly in shape and starting/ending strokes.
Where can I find practice sheets specifically for the letter 'F'?
Finding targeted practice is crucial! You can often find individual letter worksheets, including those for mastering the cursive f. Check out the selection of practice sheets available here – we likely have just what you need.